How to Deploy a Laravel Project in cPanel

Are you a Drupal site admin or developer venturing into Laravel? Here’s how to host Laravel like a pro — using your existing cPanel knowledge.
🔍 Laravel Isn't Drupal — But It's Just as Powerful
At Lovely Family Host, many of our Drupal clients are now exploring Laravel for custom applications, API backends, and modern web projects. But Laravel’s folder structure is different — and deploying it on cPanel can feel overwhelming.
Don’t worry — we’re going to make this process feel familiar.
💡 Laravel on cPanel vs. Drupal on cPanel
If you’ve deployed a Drupal site before, you’re used to:
- Uploading everything to
public_html - Modifying
.htaccessfor clean URLs - Managing databases and file permissions via cPanel
Laravel introduces a twist:
Its public/ folder must be the web root — not the entire project.
This keeps core code secure, but means you need to tweak a few paths and configs. Sound hard? It’s not.
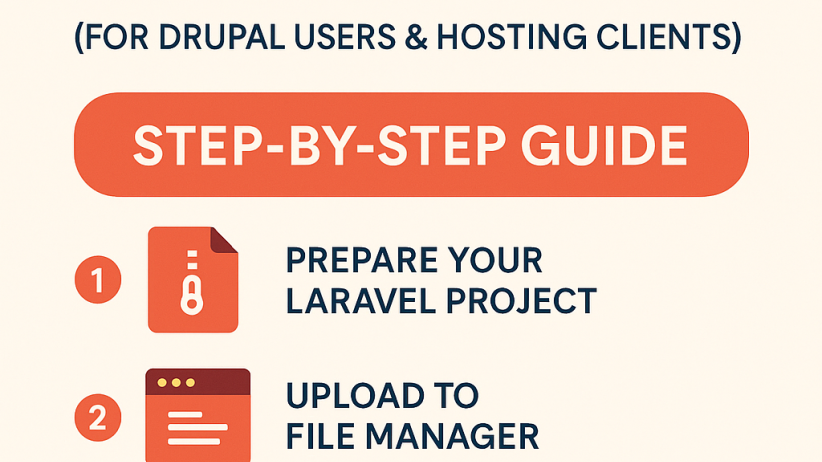
Here’s the Step-by-Step Laravel Deployment on cPanel
Whether you're migrating from Drupal or just need a solid Laravel deployment guide, follow these steps.
1. Prepare Your Laravel Project
- On your local machine, zip your entire Laravel folder.
- Exclude the
vendor/folder unless you don’t have SSH access. - Also prepare your
.envfile with correct database and app settings.
2. Upload to File Manager
- Log in to cPanel → File Manager
- Navigate to your home directory (one level up from
public_html) - Upload and extract your Laravel project zip
You should now see app/, bootstrap/, public/, and others.
3. Set Up public_html as Laravel's Web Root
- Open your Laravel app’s
public/folder - Select all files inside (
index.php,css/, etc.) - Move (not the folder itself) them to
public_html
4. Edit index.php to Link to the Core
Now, open public_html/index.php and update the paths like this:
require __DIR__.'/../your-laravel-folder/vendor/autoload.php'; $app = require_once __DIR__.'/../your-laravel-folder/bootstrap/app.php';
Replace your-laravel-folder with the name of your extracted Laravel project.
5. Set File Permissions
Just like with Drupal's sites/default/files, Laravel needs write access:
- Set permissions for:
/storage/bootstrap/cache
- You can do this in File Manager or via SSH:
chmod -R 755 storage chmod -R 755 bootstrap/cache
6. Set Up Your Database
- Go to MySQL® Databases in cPanel
- Create a database, user, and assign privileges
- Update your
.envfile accordingly:
DB_DATABASE=your_db DB_USERNAME=your_user DB_PASSWORD=your_password
7. Install Composer Dependencies
If your hosting plan allows SSH:
cd ~/your-laravel-folder composer install --no-dev php artisan key:generate
📦 No SSH? Run Composer locally, then upload the
vendor/folder manually.
8. Optional: Run Migrations
Need tables?
php artisan migrate
9. Visit Your Site
Open your domain in the browser — and you should see your Laravel app live!
If it’s blank or erroring, double-check
index.phppaths and file permissions.
Laravel Hosting That Feels Like Home
At Lovely Family Host, we make Laravel deployment as easy as Drupal. Whether you’re:
- Transitioning from Drupal to Laravel
- Hosting both on one cPanel
- Need SSH or hands-on help
We’ve got your back
Why Use Lovely Family Host?
Laravel- and Drupal-optimized shared hosting
SSH & Git access
Free SSL, staging, backups
Developer-friendly support
Myanmar-friendly payment & time zone
Ready to Launch?
Explore Laravel Hosting Plans
Need help? Contact Our Support Team
Let us help you grow your Laravel journey — with the same care and love we give our Drupal family 💖